Using baking soda to clean a pan is a long-standing kitchen hack that remains effective. It's a simple yet effective method for tackling stubborn stains, burnt-on residue, and greasy build-up on your cookware. Whether you're dealing with a beloved cast iron skillet, a nonstick pan, or a stainless steel cookware, baking soda is a versatile, eco-friendly cleaning agent that can restore your pots and pans to their sparkling best.
Whether you're dealing with a scorched saucepan, a stubborn skillet, or a well-loved wok, we'll guide you through the step-by-step process of harnessing the cleansing power of baking soda to bring new life into your pans. Say goodbye to the annoyance of stubborn burnt-on residues and say hello to a gleaming, kitchen-ready pan with the help of our guide below.
Why Use Baking Soda To Clean Pots And Pans?
Despite regular, thorough cleaning after each use, pots and pans get grimy over time. Stubborn stains and baked-on food residue are more than just unsightly, however! They can cause the metal of your pans to deteriorate. Lingering smells can leach into your food, making the dish taste wrong. Residue from burnt food on the pan's bottom can potentially pose health risks.
Many commercial cookware cleaners are available today, but there's no need to use them. Instead, reach for the baking soda you likely already have in your pantry!
Baking soda is inexpensive, non-toxic, widely accessible, has mild abrasive properties and is completely food-safe. Although using baking soda to clean pots and pans might take more elbow grease than commercial cleaners, it's just as effective. It can also be used to clean cookie sheets, oven racks, and grills!
What You'll Need To Clean Pans With Baking Soda
Baking Soda Paste
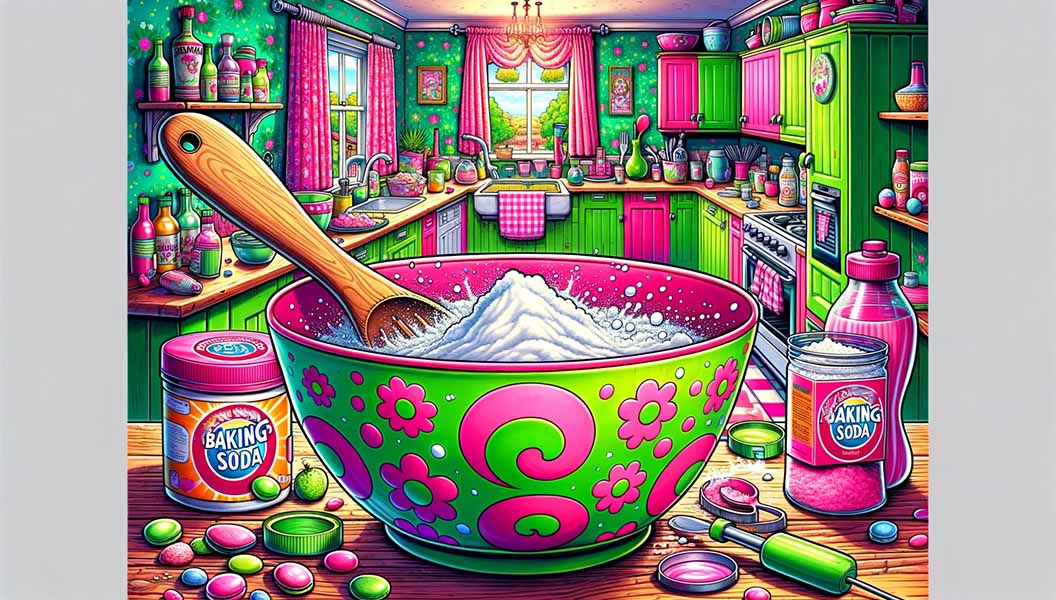
The two main components of the baking soda cleaning method are baking soda and water. Some people will replace water with white vinegar or add some white vinegar instead. Each method has its purpose and advantages.
Baking soda with water (Option 1)
Sprinkle baking soda with water to create a thick paste, which is a gentle way to scrub away surface stains and build-up without scratching the pan's surface. If it's too thin, add more baking soda. This mixture is safe for almost all types of pan materials, including non-stick coatings, stainless steel, and cast iron, without risk of damage or corrosion.
Vinegar and baking soda (Option 2)
Vinegar and baking soda combine to create a cleaner that is powerful enough to tackle stains and grease residue but gentle enough to do the job without damaging your cookware. You can use either white vinegar, lemon juice, or apple cider vinegar.
Combining baking soda with vinegar creates a fizzing action due to the acid-base reaction, which can help to break down tough, baked-on food residue. Vinegar is a natural disinfectant, so this combination cleans and sanitizes the pan, killing bacteria and removing odors.
Sponge/ Soft brush
You will also need something to scrub your pan with. There are options here, and your choice depends on the material of your cookware. Use a non-abrasive scrubber for nonstick pans. Pans coated with a nonstick surface need extra care so the coating doesn't flake off! A dishcloth or soft sponge is ample. Steel wool pads can be used for stainless steel pans or aluminum pans. Cast iron pans can handle heavy scrubbing, and chain mail scrubbing cloths have been made specifically for this heavy-duty metal.
Dry Cloth Or Towel
After washing, it's important to dry your cooking pan. Drying them immediately after washing is especially important for cast iron or other metal pans, as it prevents rust formation. Water left on metal surfaces can lead to oxidation and rust, which can damage the pan over time.
Cleaning Gloves
If you are using baking soda with vinegar, wear cleaning gloves during the cleaning process to protect your skin.
How To Clean A Pan With Baking Soda: Step-By-Step
1. Warm Up (Or Cool Down!) Your Pan

Never use this cleaning method with a fresh-off-the-stove, hot pan. Let the pan cool slightly so it is warm to the touch, but there is no chance of burning or scalding. Nevertheless, if you're beginning with a cold pan, preheat it first.
It's generally more effective to tackle stuck-on food when the pan is warm rather than cold. You can do this quickly by pouring boiling water into the pot or pan and letting it sit for 5 to 10 minutes before dumping it out and starting your cleaning.
2. Make A Cleaning Paste

Begin by making a baking soda paste by combining water, vinegar, and baking soda. When you combine baking soda and vinegar, they should produce a fizzing chemical reaction. If there is no reaction, that means your baking soda is old.
Slowly add vinegar in small increments to achieve the desired paste thickness. A thin, runny paste won't cling to stuck-on food residue like we need it to! If needed, add baking soda to the mixture to thicken the paste.
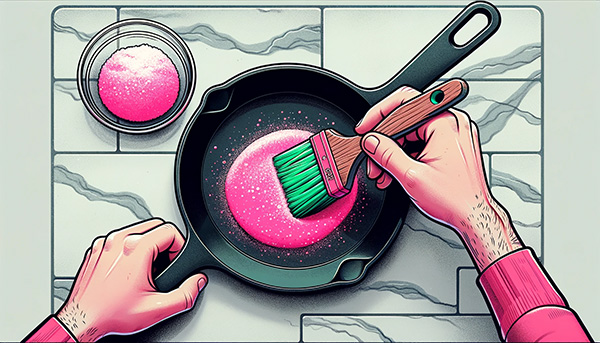
3. Apply The Cleaning Baking Soda Paste

Liberally coat the pans with baking soda, applying a thick layer on tough stains and areas with stuck food. Neither baking soda nor vinegar are expensive ingredients! You can always make more baking soda paste if necessary, so generously apply the paste to your pots and pans.
4. Let The Baking Soda Paste Sit
If you try to clean burnt pots or stained pots, allow the thick paste to sit on the stained and burnt area for at least 15 minutes and up to a few hours for particularly stubborn stains. It's important to let the pan soak up the baking soda and vinegar solution, giving the baking soda paste time to soften the scorched oil and grime.
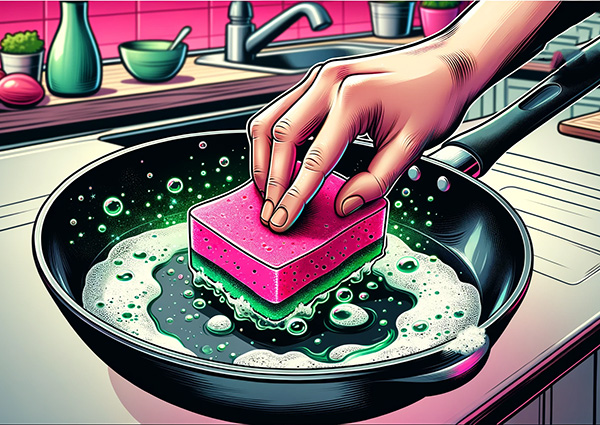
5. Scrub The Pan

Using a clean sponge or scrubbing tool of your choice, start scrubbing the pan in a circular motion. The baking soda is a gentle abrasive, effectively scrubbing away stains and residue. If you're working on a nonstick surface, do not scrub too vigorously, or you might damage the coating!
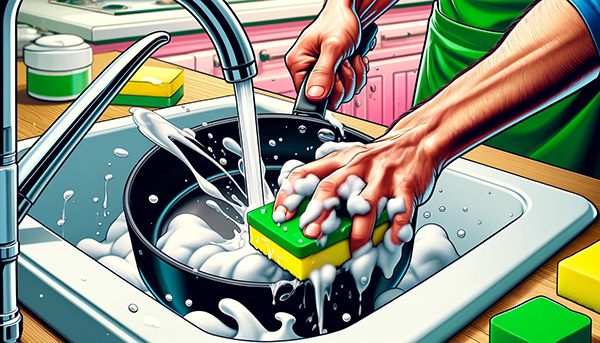
6. Wash As Normal

After scrubbing down your pans with baking soda and vinegar, wash them as you typically would. It's important to wash them rather than simply rinse away the baking soda because the vinegar taste can tend to linger. If your pans are dishwasher-safe, simply place them in the dishwasher.
Alternatively, a sink filled with warm water and dish soap can effectively clean the pan. If you are working on aluminum or cast iron pans, follow this deep cleaning up with a round of seasoning.
How To Prevent Pans From Hard-To-Clean Stains
Season Cast Iron
A critical step in maintaining cast iron cookware is ensuring proper seasoning. This process involves applying a thin layer of cooking oil and heating the pan to create a natural, nonstick surface. Seasoning creates a nonstick surface, preventing food from adhering and simplifying cleaning.
After each use, clean the pan with hot water and a brush, followed by thorough drying. Once dry, apply a small amount of cooking oil across the entire surface, including the handle and exterior. Heat the pan on low for a few minutes to allow the oil to absorb, enhancing its nonstick characteristics.
Preheat Properly
Preheating your pan before adding ingredients ensures even heat distribution and prevents sticking. Cold pans can cause food to adhere to the surface, leading to stubborn stains. To preheat, heat the pan on the stove for a few minutes before adding any ingredients. A quick test for readiness is to sprinkle a few drops of water onto the surface; they should sizzle and evaporate rapidly.
Add Oil Or Butter
Before cooking, adding a thin layer of oil or butter to the pan creates a nonstick barrier, making it easier to clean and preventing food from sticking. To do this, drizzle a small amount of oil or melt a pat of butter in the pan and distribute it evenly across the cooking surface.
Use Aluminum Foil, Parchment, Or Baking Sheets
Using aluminum foil, parchment, or baking paper as pan liners simplifies cleanup. Parchment paper and aluminum foil create non-stick surfaces for baking and roasting, while wax paper can serve as a temporary barrier for low-temperature baking. These kitchen hacks help prevent sticky residues, making pans easier to clean and extending their lifespan.

