A clean, refreshing shower is a simple pleasure that rejuvenates our body and mind. However, over time, mineral deposits, harmful bacteria, and other impurities can accumulate on the surface of our shower head, affecting water flow and potentially compromising the quality of our showering experience. Regularly cleaning your shower head not only ensures efficient water flow but also helps maintain good hygiene.
In this guide, we will explore various methods and techniques to effectively clean your shower head, along with some useful tips, allowing you to enjoy a revitalizing shower every time.
5 Ways To Clean Shower Head
Vinegar Soak

Vinegar soak is ideal for regular maintenance or when dealing with mild mineral buildup. The acidity in white vinegar naturally dissolves mineral deposits, making it an effective, eco-friendly cleaning solution. This gentle method makes it suitable for most shower heads, including those with chrome, stainless steel, or other finishes. If you have a brass, gold, or nickel-coated shower head, check the manufacturer's recommendations, as vinegar can potentially damage these materials over time. Here is how to make a vinegar soak:
Materials Needed
Distilled white vinegar, a plastic bag, a rubber band or tape, and a soft cloth/microfiber cloth
Directions
- Fill a plastic bag with distilled white vinegar.
- Submerge the shower head nozzle in the vinegar-filled bag.
- Secure the bag to the shower head with a rubber band or tape and tighten it to the water pipe or shower arm.
- Leave the showerhead overnight to help loose debris.
- Remove the bag and run hot water through the shower head to rinse away the vinegar and loosened deposits.
- After soaking and rinsing, use an old toothbrush to gently scrub any remaining mineral deposits for an extra thorough clean. This ensures all nooks and crannies are addressed.
- Wipe the shower head with a soft cloth to remove any remaining residue.
Baking Soda Scrub (Great for Surface Grime)
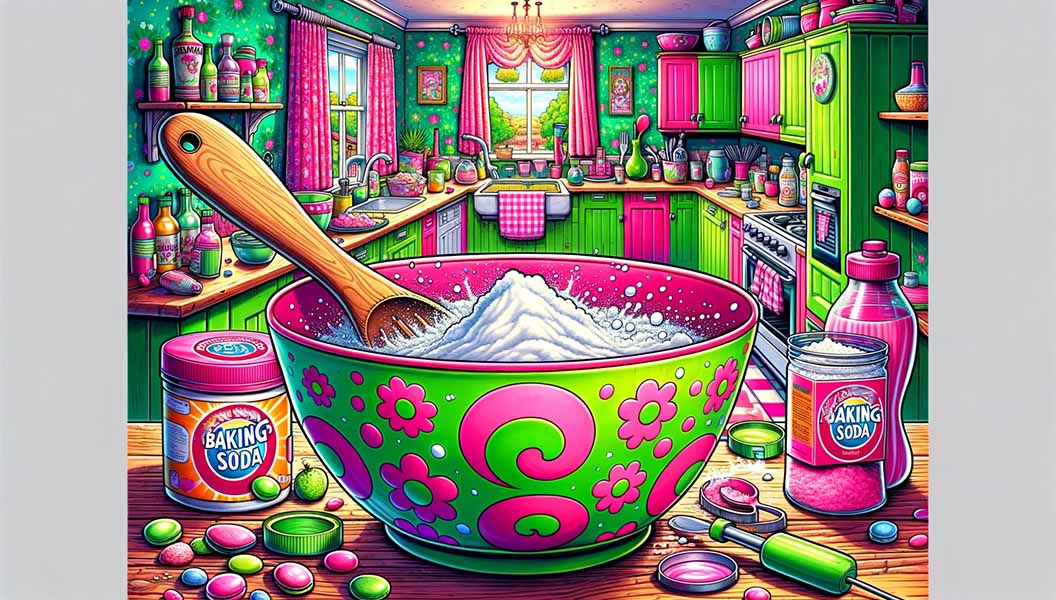
Baking soda's mild abrasive properties make it perfect for scrubbing away surface grime without scratching the showerhead's finish. The natural chemical reaction between baking soda and vinegar can enhance the cleaning process, so consider rinsing the shower head with vinegar after the baking soda scrub for an extra boost in cleaning power. This method is effective for cleaning surface grime and light mineral deposits.
Materials Needed
Baking soda, water, a toothbrush, and a soft cloth/microfiber cloth
Directions
- Make a paste using baking soda and a small amount of water.
- Apply the paste to the shower head and scrub gently with a toothbrush, focusing on the nozzles and any areas with visible buildup.
- Let the paste sit for 10-15 minutes.
- Rinse the shower head thoroughly with hot water.
- For shower heads with significant buildup, you can apply the baking soda paste and then spray vinegar over the paste. Allow the mixture to bubble and sit for a few minutes before scrubbing and rinsing.
- Dry and polish the shower head with a soft cloth.
CLR Cleaner (For Stubborn Buildup & Hard Water Stains)
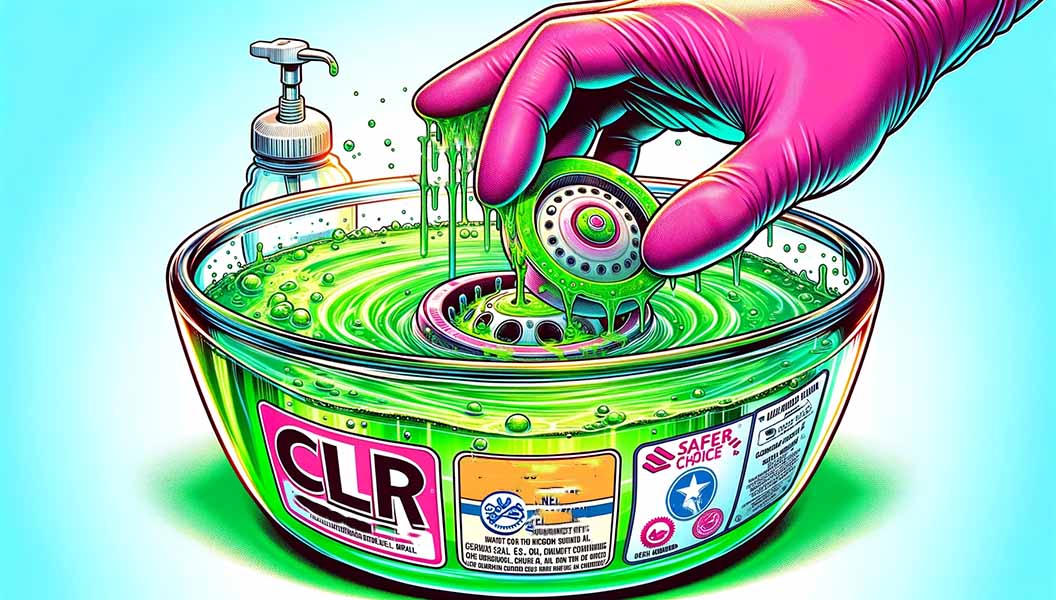
CLR is a powerful chemical cleaner specifically designed to tackle tough mineral buildup, rust, and lime deposits. It's particularly useful in areas with hard water. However, its chemical strength means it must be used cautiously to avoid damaging the shower head or harming your skin. This method is best for removing stubborn mineral buildup and hard water stains, especially in areas with hard water.
Materials Needed
CLR (Calcium, Lime, Rust) cleaner, gloves, safety glasses, a plastic bag, a rubber band or tape, and a soft cloth
Directions
- Dilute CLR cleaner with water according to the product instructions. Always use gloves and safety glasses to protect your skin and eyes when handling CLR or any chemical cleaner. Ensure the room is well-ventilated to avoid inhaling fumes.
- Pour the solution into a plastic bag and carefully submerge the shower head nozzle in the bag.
- Secure the bag to the shower head with a rubber band or tape.
- Leave it to soak for the time recommended on the CLR product, usually no more than 2 minutes to prevent damage.
- Remove the bag and thoroughly rinse the shower head with water.
- Dry and polish the shower head with a soft cloth.
Toothpick or Needle

Despite soaking and scrubbing, mineral deposits sometimes remain deep within the shower head nozzles. Using a toothpick or needle allows you to target these stubborn blockages directly. This method is especially useful for shower heads with small or complex nozzle arrangements.
Materials
A toothpick or needle
Directions
- Carefully insert a toothpick or needle into the nozzles of the shower head to dislodge any mineral deposits.
- Be gentle to avoid damaging the nozzles.
- Run hot water through the shower head to rinse away the dislodged deposits. Also, consider doing a quick vinegar soak or rinse to ensure any loosened deposits are fully removed. This also helps neutralize any bacteria that might have been disturbed.
Dish Soap and Water
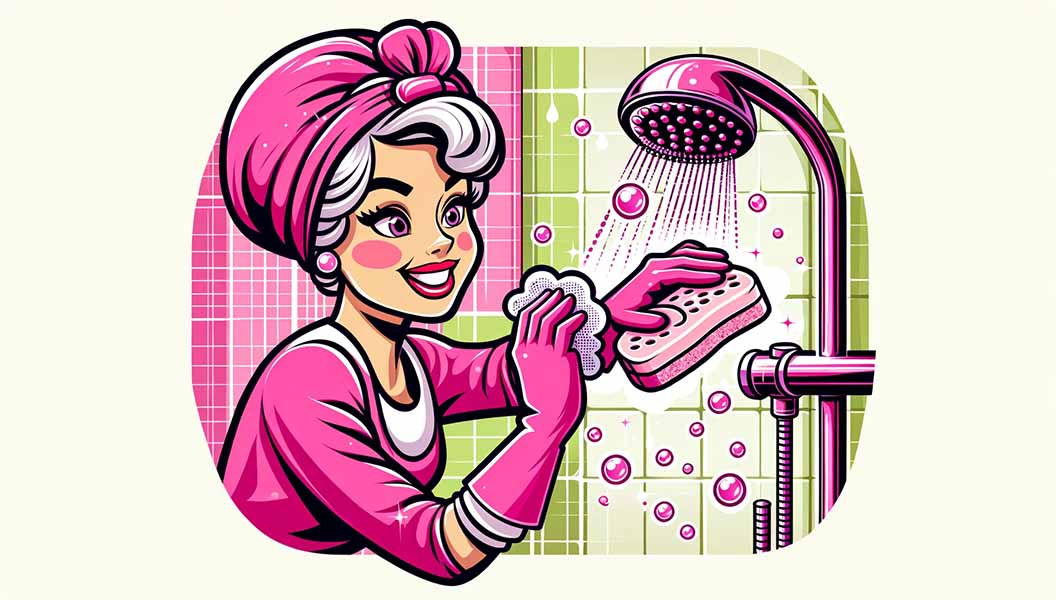
Dish soap is designed to cut through grease and grime, making it effective for removing oily residues and soap scum that can accumulate on shower heads. This method is gentle and suitable for all types of shower heads. It's a great way to maintain the cleanliness and shine of your shower head between deeper cleaning sessions.
Materials
Dish soap, warm water, a soft cloth or sponge
Directions
- Mix a few drops of dish soap with warm water.
- Dip a soft cloth or sponge in the mixture and gently scrub the shower head.
- Rinse the shower head thoroughly with warm water.
- Mix the dish soap with a bit of vinegar in warm water for an enhanced cleaning effect. This combination works well to break down both soap scum and mineral buildup, offering a comprehensive cleaning solution.
- Dry with a soft cloth.
Tips
- If you cannot find white vinegar, you can substitute it with lemon juice or apple cider vinegar.
- You must let the shower head soak in the vinegar for at least an hour, a few hours, or leave it overnight, depending on your showerhead material. If your shower head is made from non-chrome surfaces, check the manufacturer's recommendation before using this method. If you are unsure, let this method soak for 15-30 minutes and repeat the process until you get rid of all the gunk.
- If your water has a high mineral content (hard water), consider installing a water softener system to reduce mineral buildup in your plumbing fixtures, including shower heads.
- If your shower has a filter, be sure to clean the filter screen.
Why You Should Clean A Shower Head
Cleaning a shower head is essential for several reasons. Mineral deposits and sediments from hard water can clog the small nozzles or restrict the flow of water, resulting in weak water pressure or uneven spray patterns. With the wet environment, your shower head is a breeding ground for bacteria. While not all bacteria are bad for you, and most are harmless, some can be. In a recent study, researchers found that residential shower heads contain a bacteria known as mycobacterium, which can cause lung disease.
How Often Should You Clean Your Shower Head
At this point, how often should I clean my shower head? If you live in an area with hard water or water with a high calcium and magnesium level, the chances are you experience problems with a clogged showerhead often. There is no one simple answer, but you should thoroughly clean your shower head bi-weekly or monthly to avoid buildup. Luckily, cleaning the shower head is quite simple and easy.
How To Avoid Mineral Buildup In Shower Head
By following the tips below and incorporating them into your regular bathroom maintenance routine, you can help prevent mineral buildup in your shower head and enjoy a clean and efficient showering experience.
Clean Regularly
Developing a routine of regular shower head cleaning is crucial, particularly if you reside in a region with hard water. Follow the cleaning tips mentioned earlier to remove mineral deposits and grime.
Use A Water Softener
If you have hard water, you should contemplate installing a whole-home water softener system or a dedicated water softener for your shower. This can help reduce the mineral content in the water and prevent buildup in your shower head.
Install A Water Filter
An alternative solution is to incorporate a shower-specific water filter that is designed to meet your shower. These filters can help remove impurities and minerals from the water, reducing the chances of buildup in your shower head.
Remove And Soak Shower Heads Regularly
In addition to regular cleaning, it is recommended to periodically remove your shower head and soak it in a vinegar solution every few months. This can help dissolve any potential mineral deposits and keep your shower head functioning optimally.
Use A Shower Head With Self-Cleaning Nozzles
Some shower heads come with self-cleaning nozzles that are designed to prevent buildup. These types of shower heads can be beneficial in reducing maintenance and ensuring a consistent water flow.
Wipe Down Your Shower Head
After each use, it's a good practice to take a moment to wipe your shower head with a clean cloth or towel. This can help remove any water droplets or residue that may lead to buildup over time.
Maintain Proper Ventilation
To minimize moisture levels, ensure that your bathroom is adequately ventilated. High humidity can contribute to the growth of mold and mildew, which can impact the cleanliness of your shower head.
