There's a certain satisfaction in wielding a truly sharp knife in the kitchen. The ease with which it glides through pineapple or dragon fruits, the precision it offers when slicing meats, and the joy of knowing you have a trusty culinary companion at your side are unparalleled. But a knife's sharpness doesn't last forever; it gradually dulls with use. Fortunately, a time-tested technique can restore your blade's razor-sharp edge and reignite your passion for cooking, sharpening a knife with a stone.
To get your knives sharp again, we will share how to sharpen a knife with a stone and demystify the process step by step in our guide below.
What Is A Whetstone?
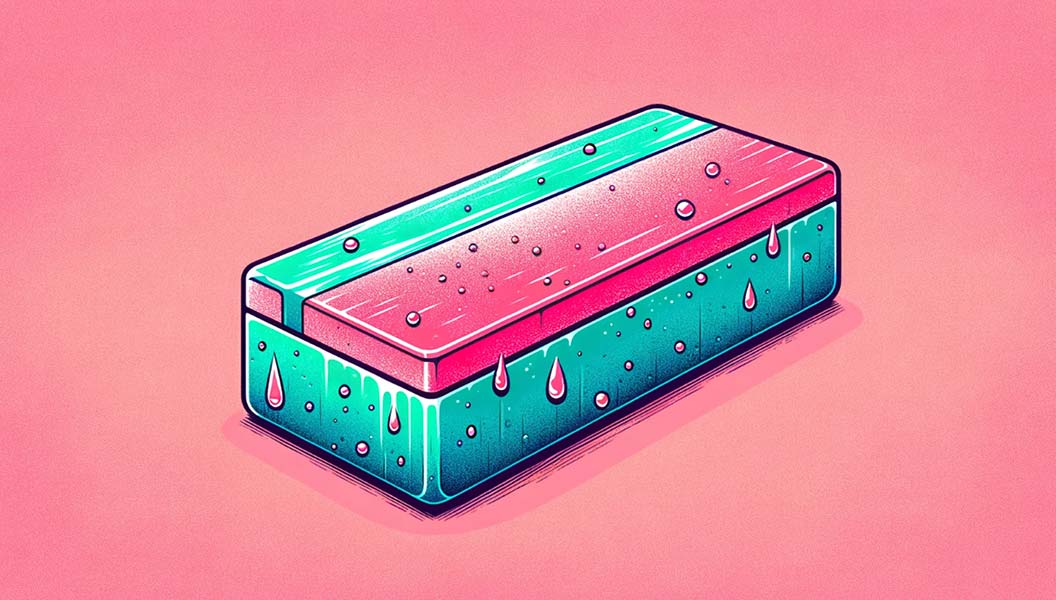
Whetstones, or sharpening stones, are made from various natural or synthetic materials, such as quartz, silicon carbide, aluminum oxide or diamond stones. They come in various grit sizes, with lower numbers indicating a coarser grit size. Lower grit is needed to shape and repair the knife's edge, while the higher grit sizes are useful for polishing the knife's edge and sharpening it to a razor-sharp edge. If possible, use a double-sided sharpening stone with a coarser and finer grit size on the same stone.
How To Sharpen A Knife With A Stone
Wet The Stone

Many sharpening stones need to be completely immersed in water before using them. You will know that the stone is ready to be used when the air bubbles stop coming up to the water's surface. The sharpening stone needs to be kept wet during the process because a slurry must form from the combination of water and whetstone dust. This slurry is what actually does the sharpening, so take care not to wash it off when adding more water to the stone. A few drops at a time will be ample.
Set Up Your Station
Place your stone on a towel over a cutting board or on a non-slip mat on your work surface to prevent the stones from sliding during the process.
Determine The Correct Angle

A professional knife sharpener will determine the exact angle of edge a particular knife needs for its intended use. In general, a smaller cutting edge angle creates a "pointy" edge that is useful for cutting but wears down quickly. A shallower edge is more durable.
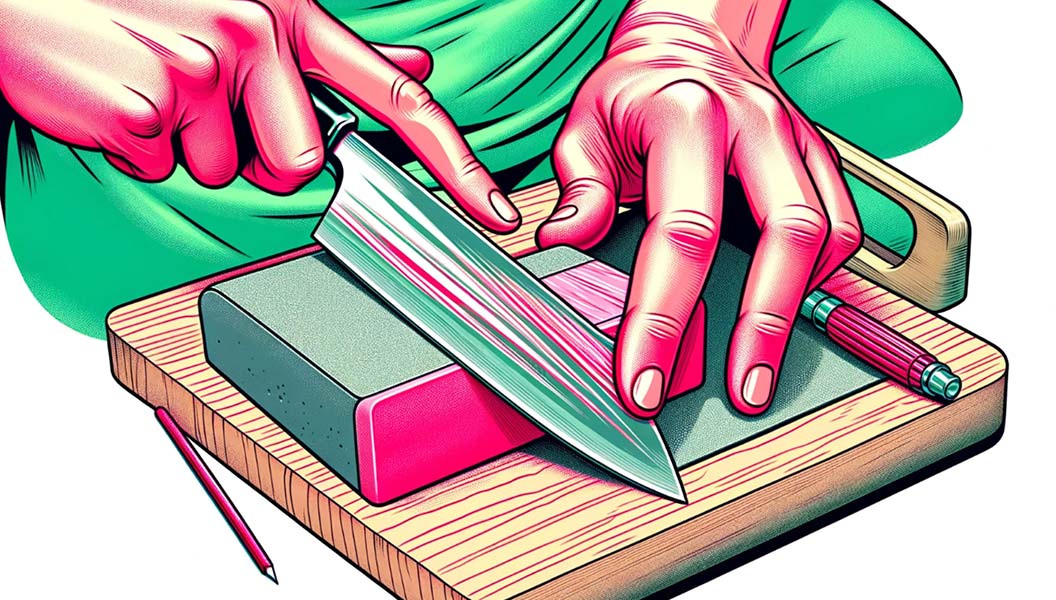
To find the appropriate edge angle for most kitchen knives, place the dull knife perpendicular to the sharpening stone, rotate it halfway up to create a 45-degree angle, and then reduce this angle again by half to create a 22.5-degree angle.
Maintaining a consistent angle throughout the sharpening knife process is important, so hand placement is key. Use your thumb as a guide to hold this angle consistently, ensuring the thumb never actually rubs across the sharpening stone. Typically, the knife should be held in the dominant hand while the fingers of the other hand are placed near the blade's edge to apply pressure.
Redefine The Edge

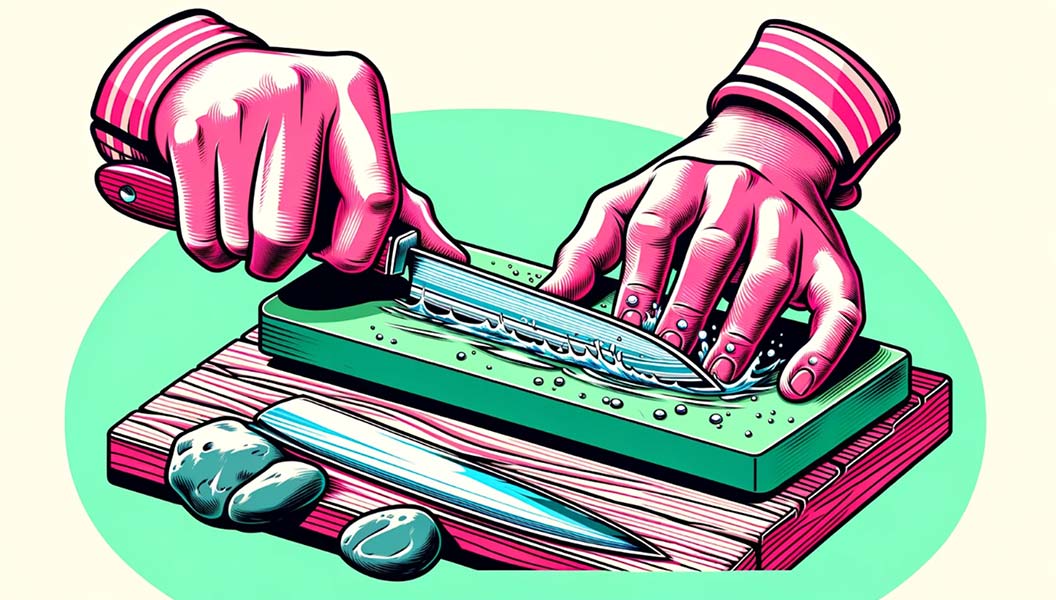
Begin sharpening by redefining the original knife edge. Use the coarse side of the traditional sharpening stone, set your angle, and start to slowly drag the dull knife blade back and forth along the stone. Only apply pressure during the backward motion! Apply pressure when pushing the knife forward to nick your blade. During this stage, you may need to apply a notable amount of pressure, using your body weight to press into the stone during the backward motion.
You will be sharpening the dull blade in approximately one-inch increments, determined by the size of the stone and the width of your fingers that are applying pressure to the side of the blade. Drag each section across the stone at least 10 to 15 times before moving on to the next section. You will know it is time to move on to a new section when you feel a tiny burr forming at the transition from the belly to the edge of the blade.
Once you've sharpened the entire edge of the knife on one side, flip the knife over and commence sharpening the other side.
Polish The Edge
Use a sharpening stone with fine grit, or switch your double-sided stone over to the higher grit number. In this step, you will repeat the process of redefining the blade edge but with a higher grit. This makes the edge razor-sharp, polishing off any small nicks or burrs. Keeping the same angle as before and maintaining an even pressure, polish one side of the knife and then flip it over to the opposite side.
Hone The Edge
Likely, your knife block or knife set came with a honing steel or honing rod. They are often mistakenly used for knife sharpening itself when they really are intended to smooth out the blade at the final step. Pass the sharpened knife edge along the honing steel 2 to 3 times on each side. A leather strop with honing oil applied to it can achieve a similar effect.
Check For Sharpness

Checking for sharpness is a crucial step in knife sharpening, ensuring that your efforts have successfully restored the knife's edge. There are several methods to test the sharpness of a knife after sharpening it with a stone, with the thumbnail test being one of them.
Thumbnail Test
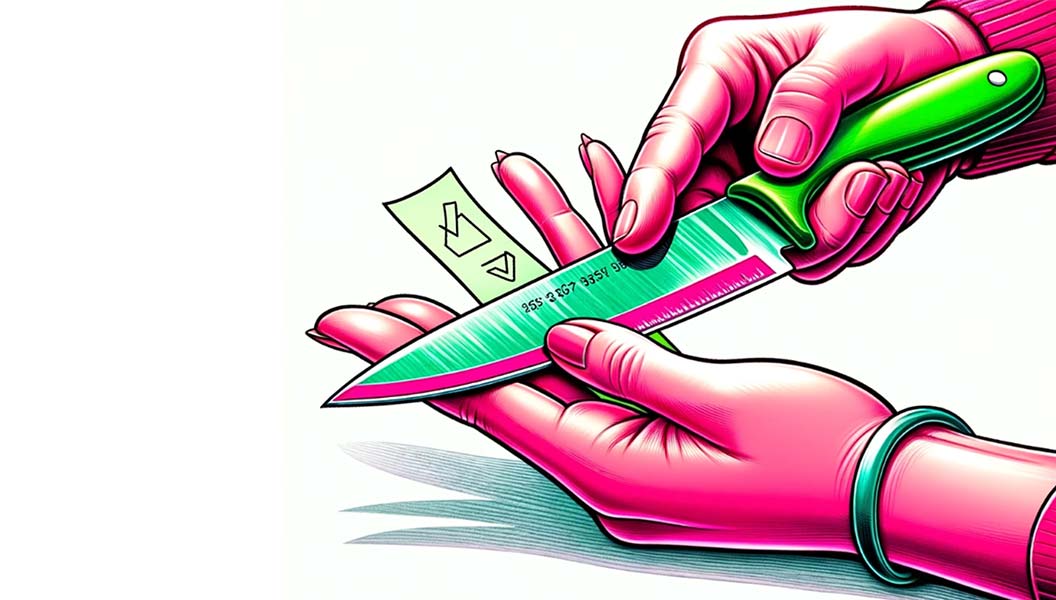
The thumbnail test involves gently placing the edge of the blade on your thumbnail at a slight angle (without applying pressure to avoid cutting yourself) and seeing if the knife "bites" into the nail slightly or if it slides off. A sharp knife will catch or grip the surface of the nail, indicating that it has been sharpened effectively. This method offers a quick and easy way to gauge the sharpness without risking damage to the blade or injury.
Paper Test
Another common method is the paper test, where you take a piece of paper, hold it in one hand, and attempt to slice through it with the knife using a smooth, controlled motion. A sharp knife should cut through the paper cleanly and effortlessly. If the knife tears the paper or struggles to cut, it may need further sharpening.
Visual Inspection
Visual inspection is another technique where you look closely at the blade's edge under good lighting. A sharp knife will have a consistent, fine edge without any nicks or flat spots. Sometimes, you might even see a reflection along the edge if it's very sharp. This method requires some experience to identify subtle differences in the blade's edge.
Shaving Test
For those seeking an even finer level of sharpness, the shaving test involves carefully attempting to shave a small patch of hair from your arm or leg. A very sharp knife will easily and smoothly shave the hairs without pulling. This test should be performed with caution to avoid cutting the skin.
Onion Or Tomato Test
Finally, try slicing through a tomato or onion for a practical kitchen test. A sharp knife should slice through the skin of a tomato or the layers of an onion with minimal pressure and without squishing the fruit or vegetable. This test mimics the actual use of the knife in cooking, providing a real-world assessment of its sharpness.
Clean And Store The Knife
Thoroughly clean the knife to eliminate any metal particles or debris. Ensure it's completely dry before safely storing it, preferably in a knife block or magnetic strip.
Knife Sharpening Tips
Go Slowly
There is no need to go quickly. Both a dull knife and a sharp knife are dangerous, and the knife will not be made any sharper by dragging it across the whetstone quickly. A slower sharpening speed will achieve a safer and more thorough job.
Practice On A Lesser Knife
Feel free to practice using a whetstone by using a lesser knife the first few times. This way, a cheaper knife bears the brunt of any scuff marks during your learning process.
Watch Your Thumb
When using your thumb to keep the sharpening angle consistent, take care that your thumb isn't rubbing against the stone itself! You likely won't notice at first, but it will get very sore and painful as the process continues.
Rotate The Stone
The sharpening stone does wear down during the process, so take care to rotate it often so that it wears down evenly. Otherwise, you may need to resurface the whetstone with a leveling stone.
Keep The Stone Lubricated
Use water for water stones and honing oil for oil stones to keep the surface lubricated. This helps prevent clogging and ensures a smoother process.
Check For Burrs
Periodically check for burrs along the blade's edge. A burr is a small metal protrusion that forms as you sharpen one side of the blade. You can feel it by gently running your finger along the edge. When a burr is present on one side, switch to the other side and sharpen until you create a burr there as well.
Count Your Strokes
Monitor and count the number of strokes on both sides of the blade. A common technique is to maintain an equal number of strokes on each side to maintain balance.
Safety First
Use a Stable Surface: Ensure your sharpening stone is on a stable, non-slip surface to prevent it from moving while sharpening. Some people place a damp cloth under the sharpening stone to enhance stability.
Proper Grip and Hand Placement: Hold the knife securely with your dominant hand, and make sure your fingers are away from the blade's edge. Use your other hand to stabilize the blade, but keep your fingers off the path of motion. This reduces the risk of slipping and cutting yourself.
Control the Angle and Pressure: Maintaining a consistent angle between the knife and the sharpening stone is crucial for safety and effectiveness. Apply steady, controlled pressure as you glide the knife across the sharpening stone, avoiding abrupt or forceful movements that could cause slippage.
Sharpen a Knife Away from Your Body: Always move the blade in a direction that's away from your body. This minimizes the risk of injury if the knife slips during the process.
Wear Cut-Resistant Gloves: Consider wearing cut-resistant gloves, especially if you're new to sharpening knives. They provide an extra layer of protection for your hands.
Keep the Stone Wet: If you're using a water-sharpening stone, keep it wet during the process. This not only facilitates smoother sharpening but also helps to wash away metal filings that could cause cuts.
Focus and Avoid Distractions: Sharpening requires concentration. Avoid distractions and focus on the task at hand to prevent accidents.
Inspect the Knife for Damage: Before sharpening, inspect the knife for any damage that could affect the sharpening process or pose a risk, such as cracks or severe nicks.
Clean Up Carefully: After sharpening, clean the knife and the sharpening stone carefully. Be cautious of metal filings or shards that may have accumulated during the sharpening process.
