Boiling corn on the cob is one of the most popular ways to cook corn and is a timeless culinary technique that has delighted taste buds for generations. There's something undeniably satisfying about the simplicity of this method. It allows fresh corn's natural sweetness and crunch to shine, making it a perfect side dish for various meals and occasions. Whether hosting a summer barbecue, planning a cozy family dinner, or just craving a wholesome snack, learning how to boil corn on the cob is valuable.
In this guide, we will walk you through the steps to become proficient in boiling corn on the cob. Whether you're a seasoned chef looking to perfect your skills or a kitchen newbie eager to impress, we've got you covered.
How To Boil Corn On The Cub
Ingredients
Fresh sweet corn on the cob (as many ears as needed)
Water
Salt (optional)
Melted butter (optional)
Seasonings of your choice (e.g., pepper, herbs, or chili powder)

Instructions
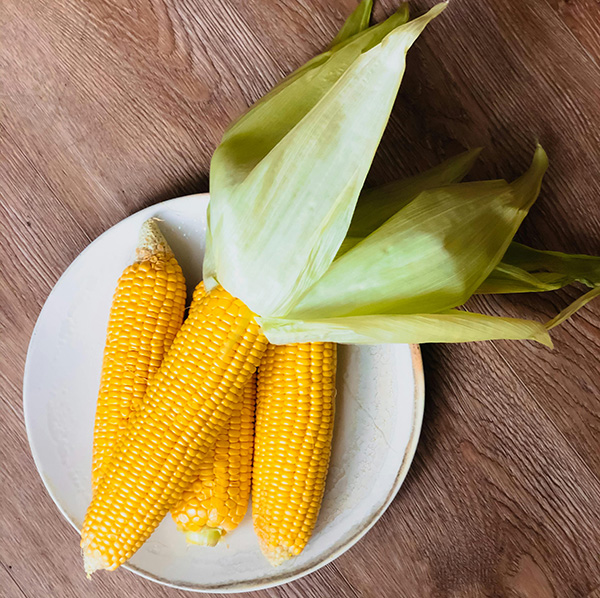
- Select the perfect corn on the cob to boil. Seek out ears of corn with bright green husks that have a firm and slightly moist texture when touched. The kernels should appear plump and tightly packed, indicating freshness.
- Remove corn husks by delicately uncovering the outer green husk, ensuring they remain connected at the base. Then, remove the corn silk, those fine, thread-like strands that sometimes cling to the kernels. You can achieve this manually or employ a gentle brush to simplify the process.
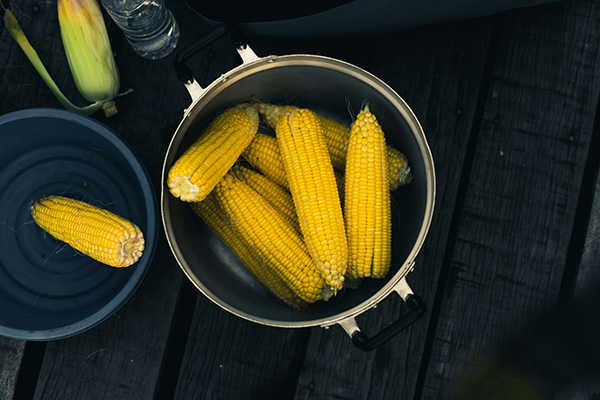
- Prepare a large pot that is big enough to accommodate the number of ears you plan to cook comfortably. Fill the large pot with adequate water to fully submerge the corn.
- Season the water (optional) by incorporating approximately 1-2 tablespoons of salt for every gallon of water. However, this step is entirely discretionary and can be adapted to your personal taste preferences.
- Boil the water and bring the water to a rolling boil on medium-high heat.
- Gently lower your husked corn cobs into the pot of boiling water. It's important not to overcrowd the pot, as doing so may affect the cooking time and the evenness of cooking.
- Allow the corn to boil for approximately 5-7 minutes. However, remember that the exact cooking time can vary based on factors such as the freshness and size of the corn. Smaller ears may be perfectly cooked in as little as 5 minutes, while larger ones might require closer to 7 minutes.
- Before taking the boiled corn out, test for doneness. Carefully insert a fork or knife into a kernel to determine whether your corn is ready. If the fork easily penetrates the kernel and the corn feels tender, it's ready to be served.
- Once the corn on the cob is boiled, remove it and drain it with tongs or a slotted spoon.
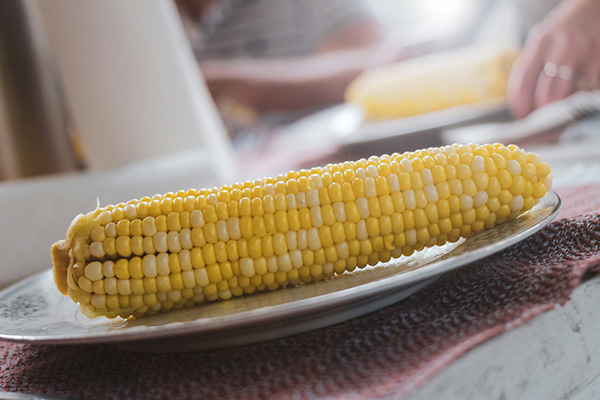
- Now, it's time to serve your boiled corn on the cob. Place the corn on a platter or individual plates for your delighted guests or family members to enjoy.
- While boiled corn on the cob is delicious, many enjoy adding a touch of butter to each ear. You can melt butter and brush it over the corn for a rich, creamy finish. Moreover, you can add your preferred seasonings, like black pepper, cotija cheese, fresh herbs, or a touch of smoked paprika, to elevate the flavor according to your taste. Lastly, savor the delicious corn.
How Long To Boil Corn On The Cob

Cooking times for boiling corn on the cob can indeed vary based on several factors, but understanding these variables and their influence on your cooking process will help you achieve that perfectly tender, sweet, and crisp corn every time.
Size Of The Corn
The size of the corn cobs is a critical factor influencing the cooking time. Smaller ears, often called "baby corn," will typically cook faster than larger, more mature ears of corn on the cob.
Freshness Of The Corn
Freshness matters when it comes to corn on the cob. The fresher the corn, the less time it takes to cook. Freshly picked corn tends to be more tender, and its sugars have not converted into starches as much as older corn, resulting in a sweeter flavor and quicker cooking.
Desired Doneness
The ideal doneness of corn on the cob varies from person to person. Some prefer corn with a slight crunch, while others like it tender and fully cooked. Modify the cooking time to reach your desired level of doneness.
Altitude And Water Temperature
Your location's altitude can affect the boiling point of water. Water boils at a lower temperature in elevated altitudes, which might necessitate slightly lengthier cooking durations. Additionally, if you start with cold water instead of boiling water, it will take longer to come to a boil and may affect the cooking time.
General Boiling Time
Now, let's break down some general guidelines for boiling corn on the cob:
Small to Medium Ears (Fresh Corn): Boil for about 5 to 7 minutes.
Large Ears (Fresh Corn): Boil for approximately 7 to 9 minutes.
Frozen Corn: Frozen corn on the cob typically cooks in about 8 to 10 minutes.
Boiling Time Based On Variety
Fresh Sweet Corn (Standard Variety)
Small to Medium Ears: Boil for about 5 to 7 minutes.
Large Ears: Boil for approximately 7 to 9 minutes.
Baby Corn (Miniature Variety)
Baby corn typically cooks very quickly due to its small size. Boil for approximately 3 to 4 minutes.
Frozen Corn On The Cob
Frozen corn on the cob may require a slightly longer cooking time than fresh corn on the cob. Boil for about 8 to 10 minutes.
Older Corn (Less Fresh)
Older or less fresh corn may require a slightly longer cooking time to become tender. Cooking times can vary widely, but aim for about 9 to 12 minutes or until the kernels are tender.
Testing For Doneness
To determine if your boiled corn is cooked to your liking, gently insert a fork or knife into a kernel. If it easily pierces the kernel and the cooked corn feels tender, it's ready. Be mindful not to overcook, as excessive cooking can lead to mushy corn.
How To Store Leftover Corn On The Cob

Corn on the cob can be stored away to relish at a later time. Here's how to store corn on the cob properly:
Cool The Corn
Once you've relished your freshly cooked corn on the cob, let any leftovers cool to room temperature. If you find it more convenient or plan to use the corn kernels for other dishes, consider removing them from the cob before storage. To accomplish this, stand the cooked cob on its end and utilize a sharp knife to slice it down, separating the kernels from the cob. You can store the kernels in a separate container if desired.
Wrap For Protection
The most common method of storing leftover corn on the cob is individually wrapping each cob. You can use plastic wrap or aluminum foil for this task. Wrap the corn cob tightly to create a barrier against air, which can cause the corn to lose moisture and flavor.
Alternatively, you can put the wrapped corn cobs in an airtight container. Ensure the container has sufficient space to accommodate the cobs without squishing them. It's vital to avoid condensation inside the storage container, as moisture can cause the corn to deteriorate.
To monitor freshness, it's a wise practice to label the storage container or wrap it with the date when the boiled corn was cooked. This will assist you in prioritizing the consumption of older leftovers.
Choose Between Refrigeration Or Freezing
Keep the wrapped or containerized corn on the cob in the refrigerator for short-term storage (up to 2-3 days). However, freeze corn is a better option if you intend to preserve the corn for an extended period.
Just put the wrapped corn on the cob in the freezer to freeze the corn. It can retain its quality for 6-8 months or even longer when properly frozen. Freezing is a great choice to relish corn on the cob when fresh corn is not easily accessible.
